

Hands-on with Docker, Node.js, and Express: Beginner’s guide to getting Started With Containerisation


You may have already heard about docker and how great it is. If you have not you can get your idea from their official site. In short, if you are looking forward to starting a career in DevOps, the first thing you should know and learn about is containerization. There are several containerization technologies are available, but Docker has become the de facto standard to build and share containerized apps. In this story, I am going to tell you how you can make your hands dirty with Docker.
Table of content
The traditional way to run a node app
Dockerizing Node.js app
The traditional way to run a node app
It is not required to know to code to get started with Docker. But you need to know how to run the application that you are intending to dockerize. Let’s consider one of the node apps that I build during learning node.js and express. Before jumping into Docker, I would like to show you how you can run this node app in your local machine. The steps are:
Step 1: Install git
Step 2: Install Node and NPM
Step 3: Clone Git repository
Step 4: Run web app
Step 1: Install Git
You will find great guidelines from here about installing git for your local machine ( Linux, Mac, or Windows).
Step 2: Install Nodejs and NPM
Download and install node.js from the official site. Versions should be at least 10 or higher 10. Once you are done, open a terminal, and verify the installation:
$ node -v
$ npm -v
Step 3: Clone the git repository
Open your terminal or PowerShell. Run down the following command to clone the git repository.
$ git clone https://github.com/humayun-rashid/covid-19-node-app.git
Step 4: Run the web app
Let’s install our npm dependencies that are listed in package.json. You will find the package file in the repository. Run the following command in your terminal to install the dependencies.
$ npm install
Once you are done with the dependencies installation, the app can be started with the following line of command and you can see that the server will start running in port 3000.
$ node server.jsServer is running in port 3000
Open your favourite browser and visit the following link to access the application.
http://localhost:3000
You should see something like the following:
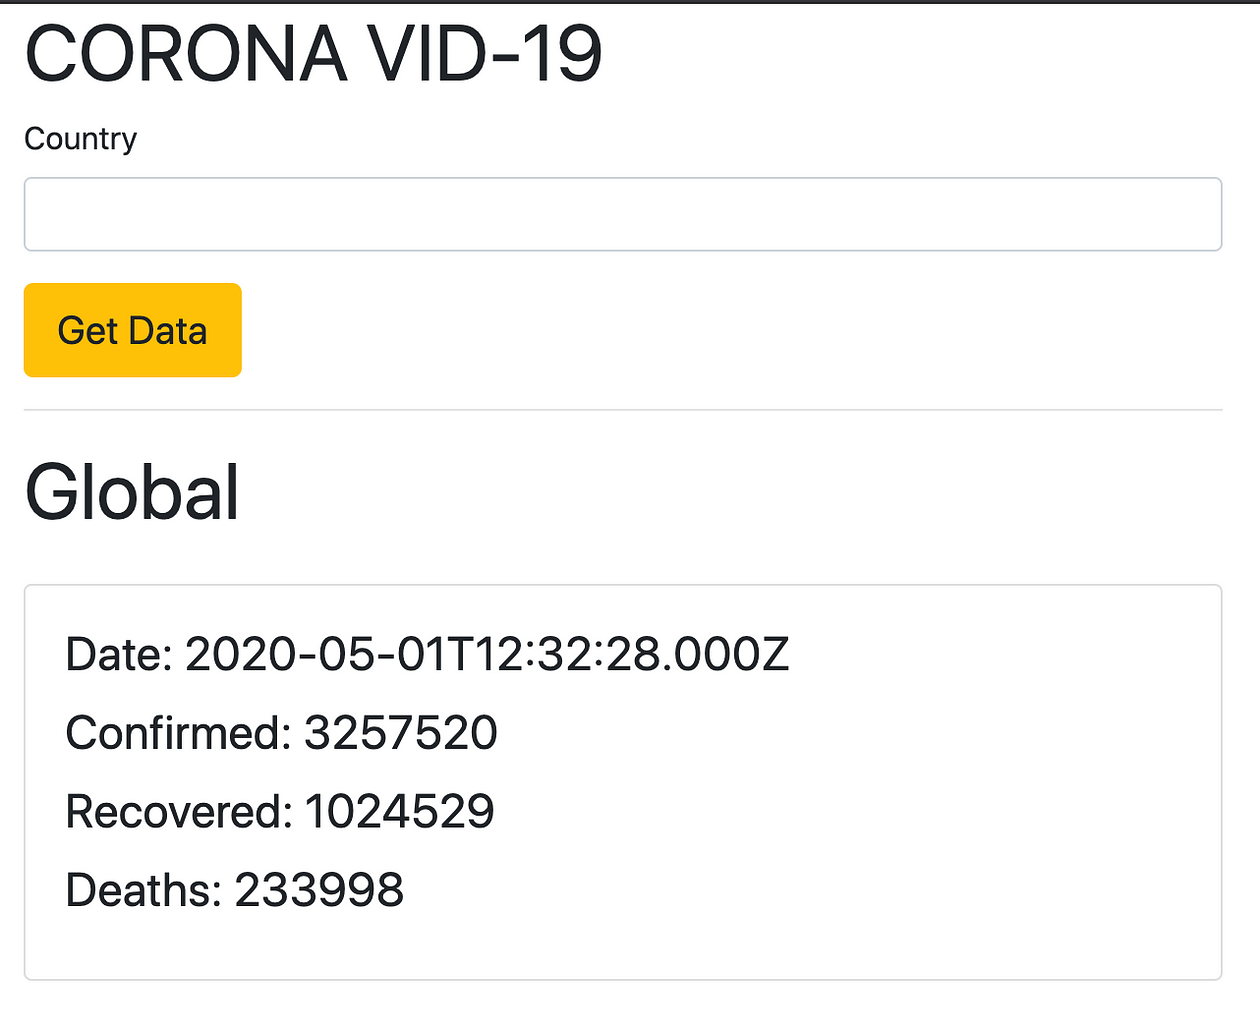
Write down some country’s name and it should give output. To stop the server, you need to press ctrl + c.
Dockerizing Node.js app
The steps to create an image and push it to a registry using docker are listed below:
Step 1: Install Docker
Step 2: Create Dockerfile
Step 3: Build and run the image
Step 4: Tag an image and push it to the registry
Step 5: Stop the container and cleanup
Step 1: Install Docker
I will recommend installing a docker desktop for Mac and Windows users from here. Ubuntu users can run the following commands to install Docker.
$ sudo apt-get update
$ sudo apt-get remove docker docker-engine docker.io
$ sudo apt install docker.io
$ sudo systemctl start docker
$ sudo systemctl enable docker
You should test if the docker is working fine after installation. Open your terminal and run the following command:
$ docker --version
$ docker run hello-word
I also run a base image and echo a message to verify if the docker is functioning properly.
$ docker run alpine:latest "echo" "Hello, World"
Step 2: Create Dockerfile
Create a file in the same directory named “Dockerfile” without any extension. I am using Visual Studio Code to edit my Dockerfile. If you are in Ubuntu or Mac, you can create a new Docker configuration file from the terminal within the same directory by running:
$ touch Dockerfile
Add the following configuration first, It might not make any sense right now if you are new to this but I am going to explain what’s happening here later.
# Base Image
FROM node:10# Create app directory
WORKDIR /usr/src/app# Install app dependencies
COPY package*.json ./# Install dependencies
RUN npm install# Bundle app source
COPY . .#Expose port to 3000
EXPOSE 3000# Add command to run
CMD [ "node", "server.js" ]
Base Image: The first line defines a base image that we are going to use to build our app. We have chosen a base image that has already node and npm, so we don’t need to install it additionally.
# Base Image
FROM node:10
Work directly: The next line is for creating a working directory for our app in the base image.
# Create app directory
WORKDIR /usr/src/app
Dependency install: In the next step, app dependencies will be installed. First, the package.json file will be copied to the directory, and then the npm install command will be executed to install essential packages.
# Install app dependencies
COPY package*.json ./# Install dependencies
RUN npm install
Copy to work directory: In the next step, COPY will be used to copy all the content of the app directory to the container’s working directory.
# Bundle app source
COPY . .
Port expose: The app needs to be exposed to the port 3000 using the EXPOSE instruction.
EXPOSE 3000
Command: To start our server CMD will be used. Commands need to be separated by a comma.
CMD [ "node", "server.js" ]
Step 3: Build and run the image
Once Dockerfile is written and placed in the same directory, the following command can build the image.
$ docker build -t covid-19:latest .
Now, run the following command to check if the image has been created properly.
$ docker images
It should list all the images. To run the image, use the following command.
$ docker run --rm --name covid-19 -it -p 3000:3000 covid-19:latest
--rm: The container is removed when it exits or when the daemon exits.
--name: Define a name for the container. If it is not used, then the daemon generates a random string name.
-it: To be able to do interactive processes (e.g. bash/shell)
-p: It is used for port forwarding.
Now, open your browser and visit HTTP://localhost:3000 and you should see that your app is running.
Stop the container
You can not stop a container by pressing ctrl + cc from the same terminal. To stop a running container, you need to first open a new terminal and then run the following command to get the container ID.
docker ps
Now perform the following docker stop command with container ID to stop the running container.
docker stop [ID]
Run in detached mode
The container we were running previously was running in the attached mode. To start a container in detached mode, we need to provide -d . Run the following command, and you will notice that the container has started in detached mode.
$ docker run --rm --name covid-19 -d -it -p 3000:3000 covid-19:latest
If you want to attach again, list the running container, and run the command attach with your container name.
docker container ls
docker container attach covid-19
Bash shell in a terminal
To start using a bash shell inside of the container, the following command needs to be performed.
docker exec --rm --name covid-19 -it -p 3000:3000 covid-19:latest /bin/bash
- Another approach is to use the command at the end. The following command will list down all the files inside the container.
docker exec --rm --name covid-19 -it -p 3000:3000 covid-19:latest ls
Step 4: Tag an image and push to the registry
To push the image to the Docker registry, you need to create an account for the docker registry here. First, tag the image with the repository name and then push it using the following commands:
docker tag covid-19:latest (repo-name)/covid-19:latest
docker push (repo-name)/covid-19:latest
Step 5: Cleanup
To delete the image, first list all the images with image ID. Then use rmi the command with image ID to remove the image. You can use -f in the case of force image removal is needed.
$ docker imagesREPOSITORY                TAG                 IMAGE ID            CREATED             SIZE
test1                     latest              fd484f19954f        23 seconds ago      7 B (virtual 4.964 MB)
test                      latest              fd484f19954f        23 seconds ago      7 B (virtual 4.964 MB)
test2                     latest              fd484f19954f        23 seconds ago      7 B (virtual 4.964 MB)$ docker rmi fd484f19954f
Clean up all resources
It is possible to clean up all dangling resources (images, containers, volumes, and networks ) with one single command. Flag -a can be added to remove stopped containers and all unused images.
$ docker system prune
$ docker system prune -a